What Is a Gyroplane?
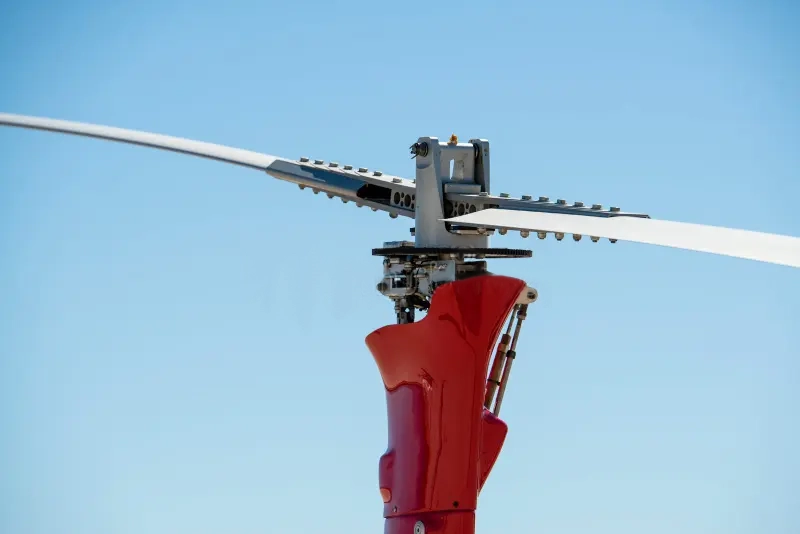
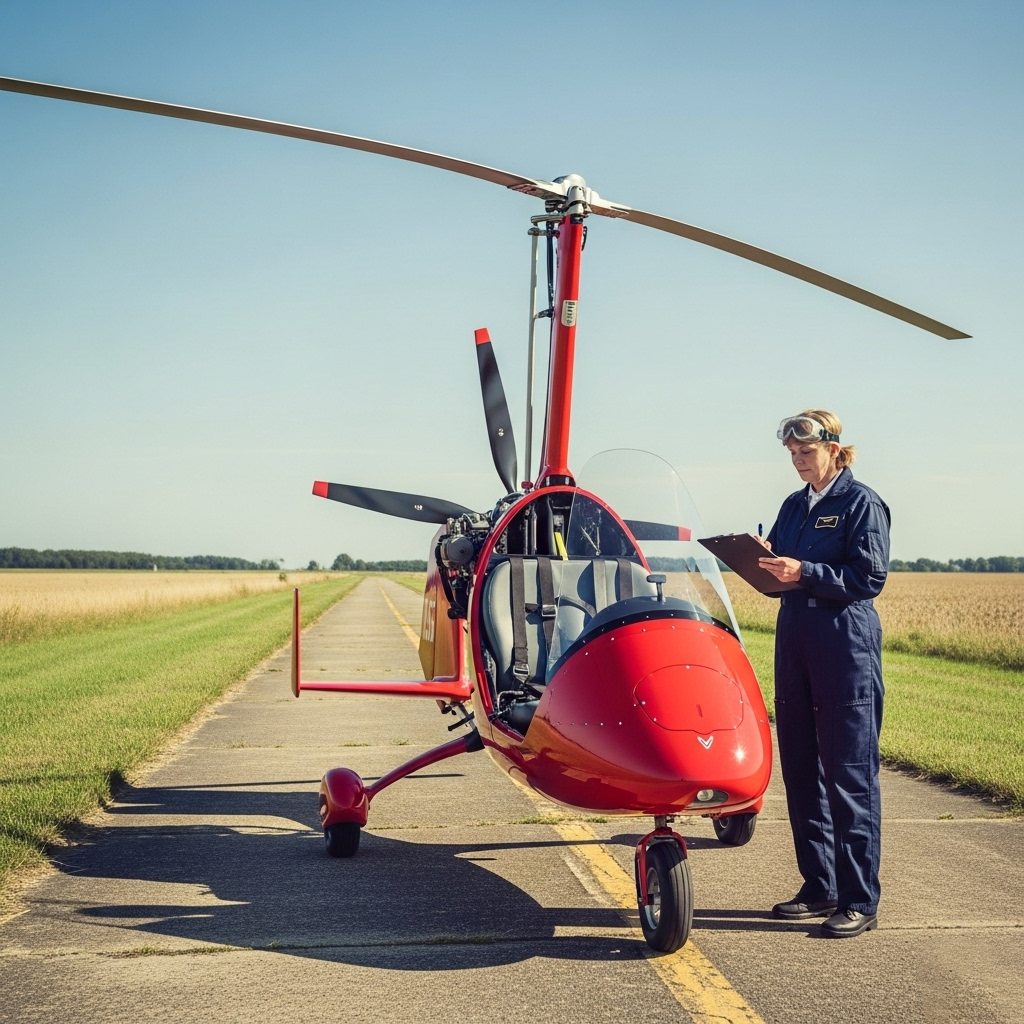
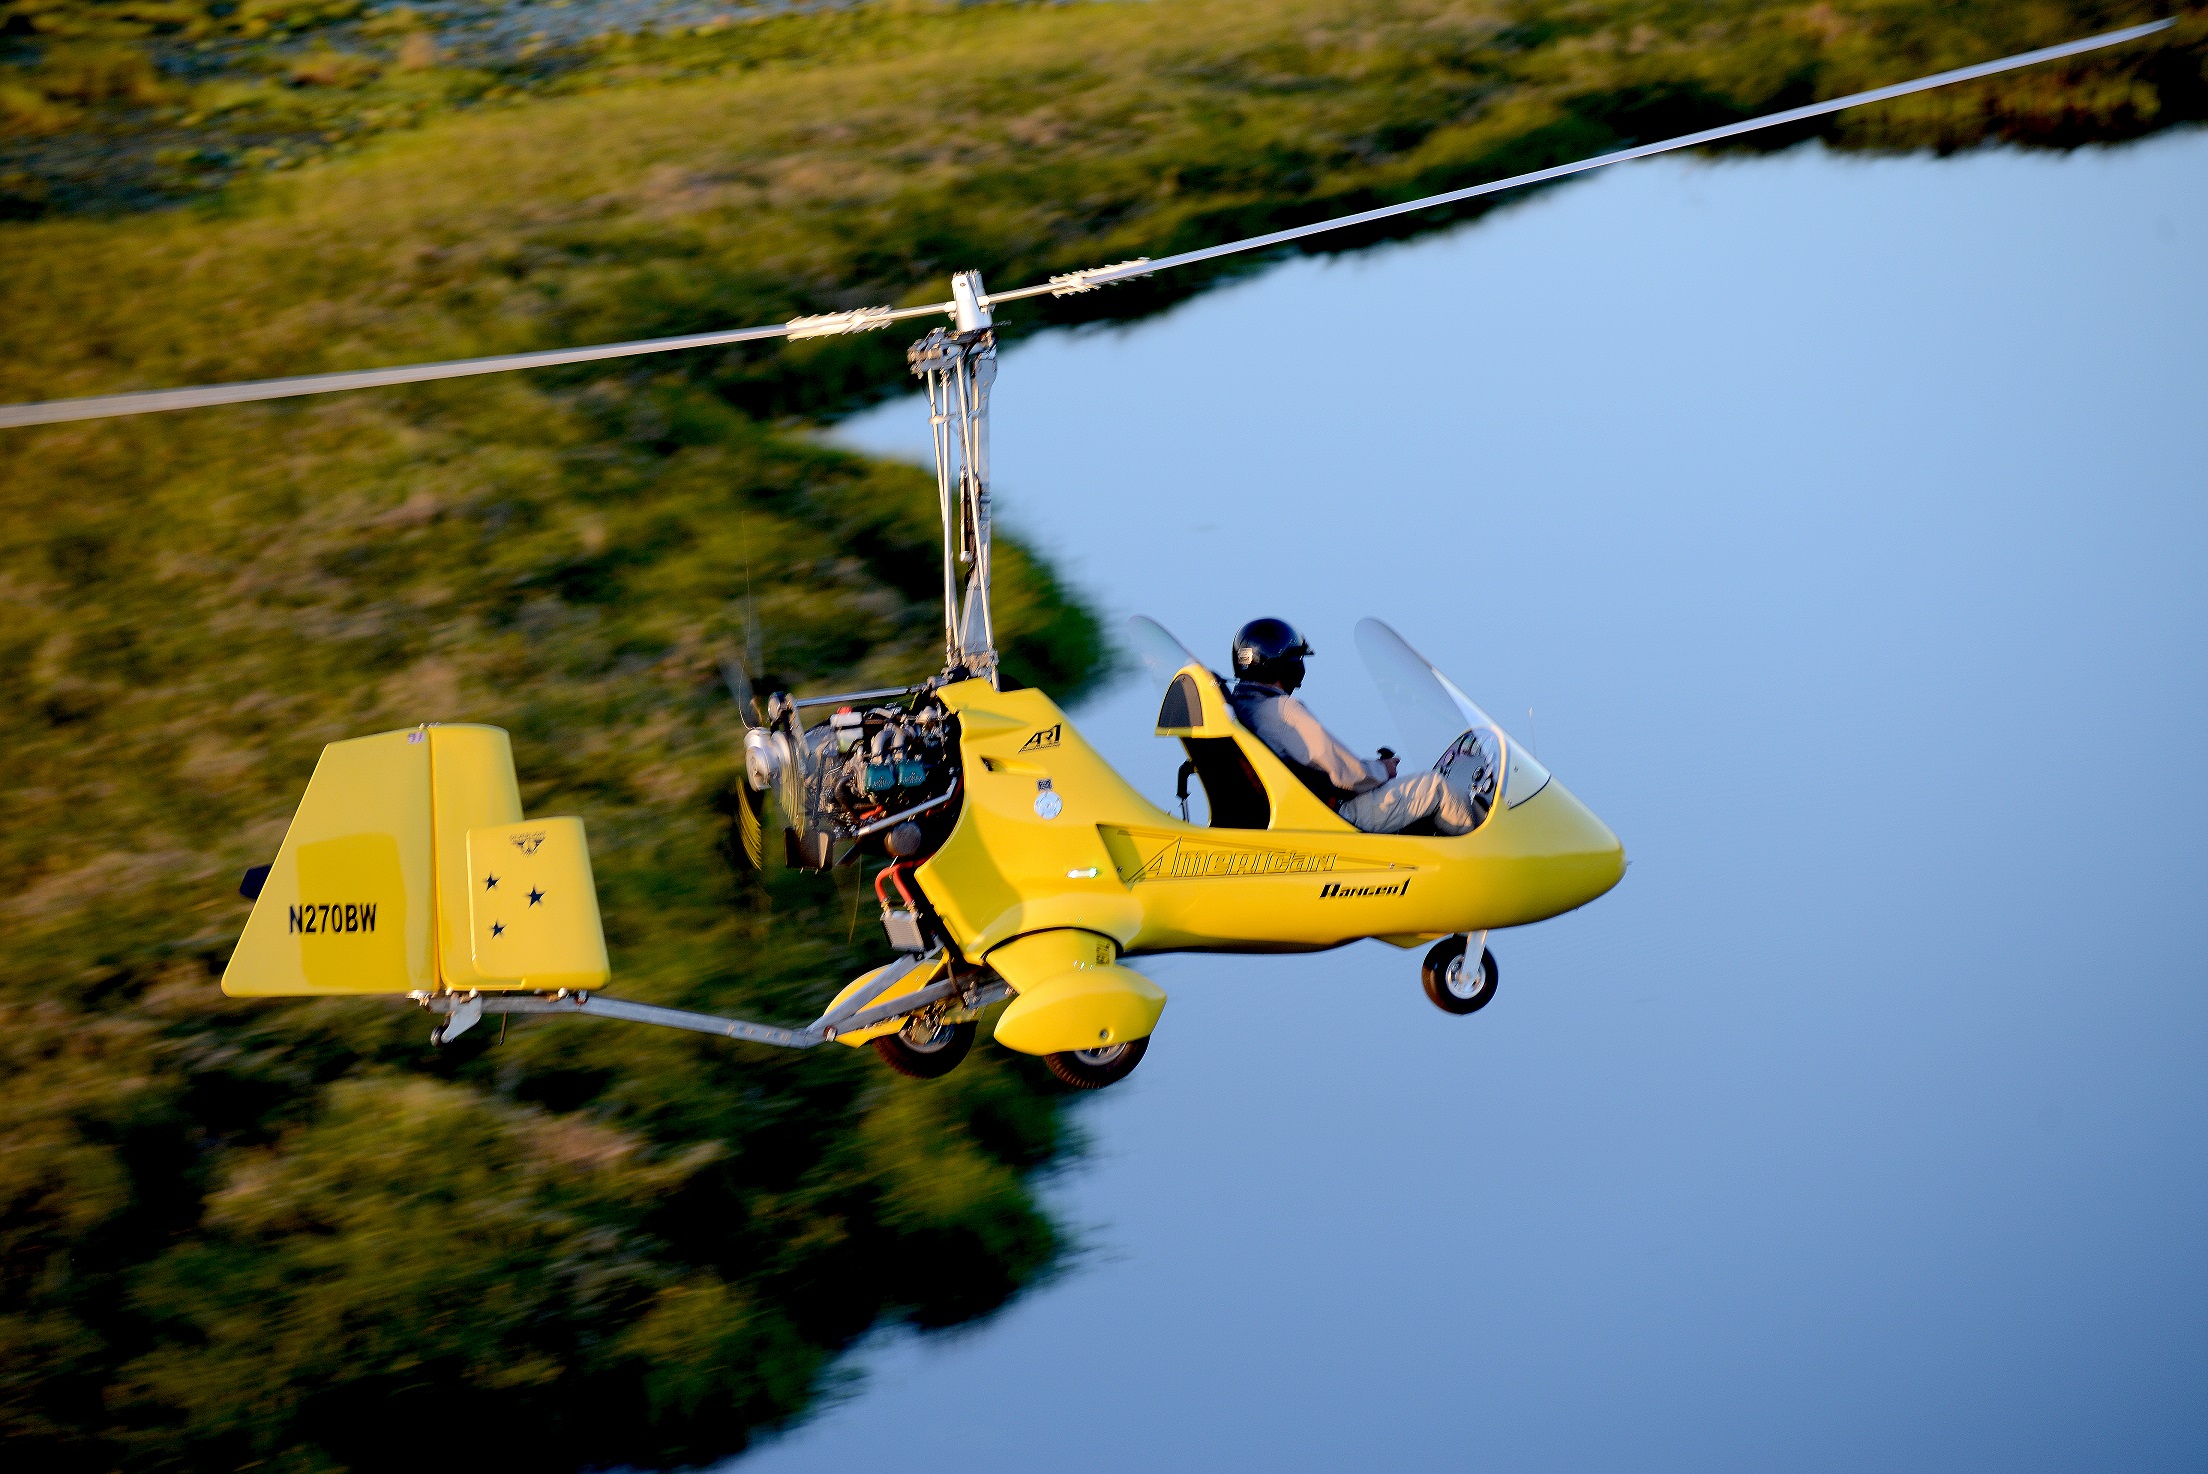
A gyroplane (or autogyro) is a unique aircraft with an unpowered rotor that autorotates to generate lift, plus an engine-driven propeller for forward thrust. In flight, air rushing through the rotor keeps it spinning, so even if the engine stops, the rotor still spins and the gyroplane can descend safely.
Unlike a helicopter, gyroplanes cannot hover, but they can take off and land in short distances and fly very slowly. This simplicity makes them fun and forgiving to fly. Modern gyroplanes often feature side-by-side seating, sleek cockpits, and powerful engines. Enthusiasts praise their open-air experience and agility – the community saying goes: “Safe = Fun.”
History: A Rotorcraft Timeline
1920
Cierva Begins
Juan de la Cierva fits bamboo rotor blades to an existing airframe—solving stall and torque issues and laying the groundwork for autorotation.
1923
First Flight (C‑4)
The Cierva C‑4 makes aviation history on January 9, 1923 in Madrid—37 mph on a 110 hp radial engine.
1928
Channel Crossing (C‑8)
The C‑8 becomes the first rotorcraft to cross the English Channel; Cierva forms Cierva Autogiro Co in England.
1932
Pitcairn PCA‑2 Certified
Harold Pitcairn’s PCA‑2 earns the first U.S. autogyro certificate (Type 410) and later sets an 18,415 ft altitude record.
1937
Weir W‑5—Britain’s First Helicopter
G&J Weir’s W‑5 flies in June 1938, shifting Scottish firm focus from gyroplanes to helicopters.
1942
Fa 330 “Sea Devil”
Focke-Achgelis Fa 330 towed by U‑boats for reconnaissance; ~200 built before WWII’s end.
1947
Fairey Gyrodyne & Rotodyne
Gyrodyne combines helicopter VTOL with gyroplane cruise; Rotodyne (1957) sets a 191 mph record but is ultimately canceled.
1954
XV‑1 & XV‑3 Prototypes
McDonnell’s XV‑1 pushes 199 mph; Bell’s XV‑3 leads to modern tilt‑rotor concepts (e.g. Osprey).
1961
Wallis WA‑116F Speed Record
Wing‑Commander K.H. Wallis’s autogyro sets a closed‑circuit speed record (416 mi) in 1974 and appears in James Bond films.
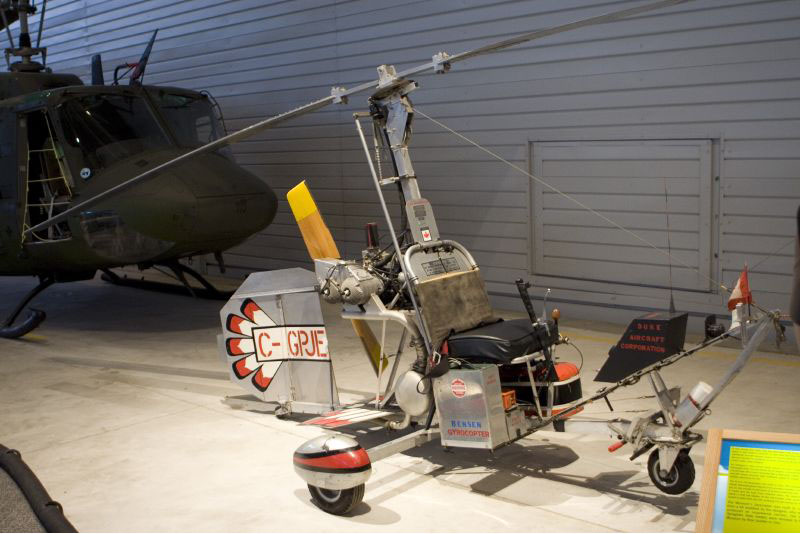
1971
Bensen B‑8M
The B‑8M kit gyrocopter debuts—a lightweight, open‑cockpit design that sparks annual fly‑ins in Florida.
1980
AISA GN & 1980s Kits
Spain’s AISA-GN cabin autogyro and Brock Gyrocopter kits bring composite materials and plan‑built homebuilts back into vogue.
1990s
CarterCopter MU‑1
Jay Carter’s high‑inertia rotor research achieves a “mu 1” breakthrough but ends after prototype losses.
Today
Modern Kits & Factory‑Built
From AutoGyro’s Cavalon/Calidus to Magni MTOsport, factory‑built gyroplanes now serve sport, survey, and patrol missions worldwide.
Kit Selection
Choosing the right gyroplane kit is one of the most important steps for any builder. Whether you’re completely new to aviation or already familiar with homebuilt aircraft, this section will help you think through key questions before making a commitment.
Gyroplanes may seem affordable and exciting (and they are), but building and flying one still requires planning, skill, and the right match between aircraft and pilot. Below are the seven key areas to consider before you put your money down.
1. What do you plan to use the aircraft for?
Think honestly about your mission. Will you use it for cross-country flights, scenic trips, photography, agriculture, or just fun on weekends? Your intended use will determine many aspects of the aircraft you choose.
2. Does the performance match your needs?
Some gyroplanes are faster, more maneuverable, or have better range than others. Check if the kit offers what you need in terms of speed, endurance, weight capacity, and cockpit comfort.
3. Can you afford the full cost?
The kit is just the beginning. You’ll also need to think about tools, engine, avionics, paint, insurance, training, and maintenance. Be realistic about your budget to avoid frustration later on.
4. Is the manufacturer reliable?
Good support is crucial. Choose a kit from a company with detailed instructions, responsive customer service, and a strong builder community. Even experienced builders run into questions—they’ll need help too.
5. What are the operating costs?
Direct operating costs (DOC) include fuel, oil, routine maintenance, and replacement parts. Gyroplanes are generally economical, but it’s still good to ask for estimates or calculate your own based on similar aircraft.
6. Have you flown one?
Before you buy, take a test flight in the type of gyroplane you’re considering. A short demo with a certified instructor can give you valuable insight into how the aircraft feels—and what kind of training you might need.
7. Can you build it yourself?
If you’re handy with tools and can follow instructions, you can probably build a kit. If you’re unsure, look for help at EAA chapters or airshows like Oshkosh or Sun ‘n Fun. You can also buy a finished aircraft if building isn’t for you.
Choosing a kit is exciting, but it’s also a serious investment of time and energy. With careful planning and honest expectations, you’ll set yourself up for success and a lot of fun in the skies.
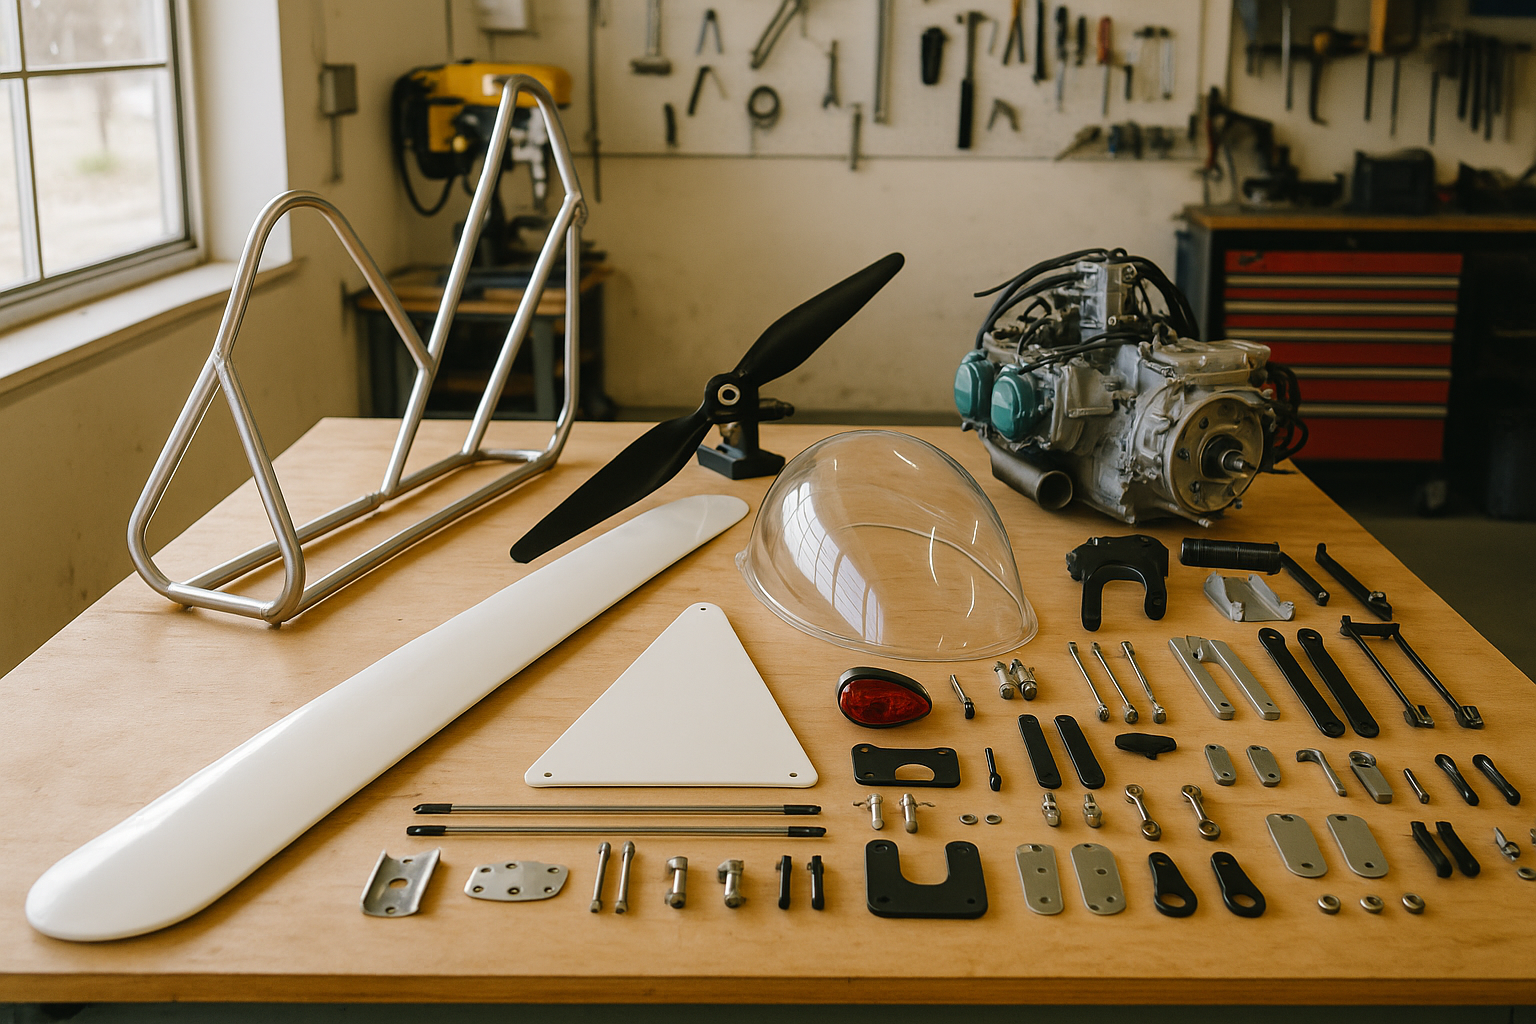
Kits Overview
Gyroplane kits provide everything you need to build a fly‑ready rotorcraft—most of the airframe, rotor system, and components arrive in one or more sturdy boxes. Kits range from full “all‑in‑one” packages (airframe, rotor, controls, hardware) to sub‑kits (just the airframe or control surfaces), letting you spread costs or focus on specific assemblies. Remember, a “complete” kit may not include paint, electronics, instruments, or safety gear—those are your call. What makes kit‑built gyroplanes so appealing is the freedom to customize: choose your own cockpit layout, paint scheme, avionics stack, and upholstery to match your taste and mission.
Featured Kits

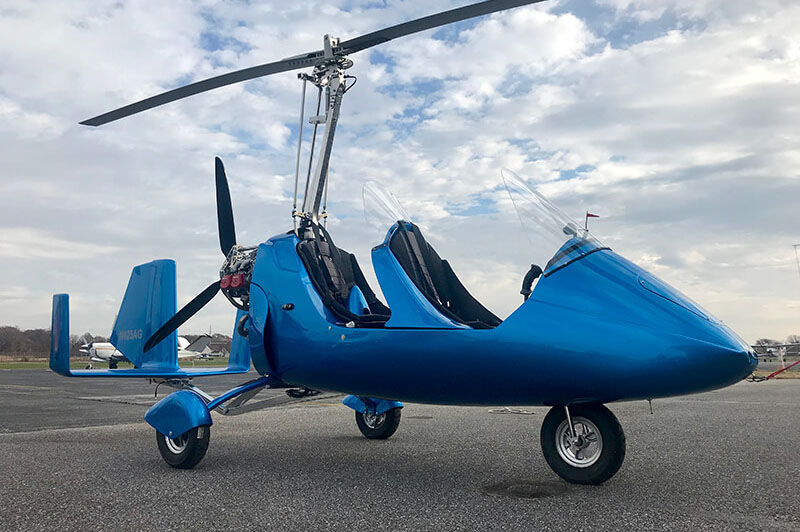
Cavalon
Engine: Rotax 912 series
Cruise Speed: ~80 kt
Price: From $60 000 (factory‑built)
Highlights:
- Full cabin comfort & weather protection - Side‑by‑side seating with heat & audio - Advanced avionics ready
MTOsport
Engine: Rotax 582 or 912 option
Cruise Speed: ~75 kt
Price: Kits from $35 000 + options
Highlights:
- Lightweight, highly maneuverable - Sport‑tuned for fun weekend flights - Ideal for demonstration and airshows
B‑8M Classic
Engine: 50–65 hp McCulloch or Subaru
Cruise Speed: ~65 kt
Price: Kits from $20 000
Highlights:
- Ultra‑simple frame; minimal maintenance - Lower build cost; great for beginners - Strong community support & fly‑ins
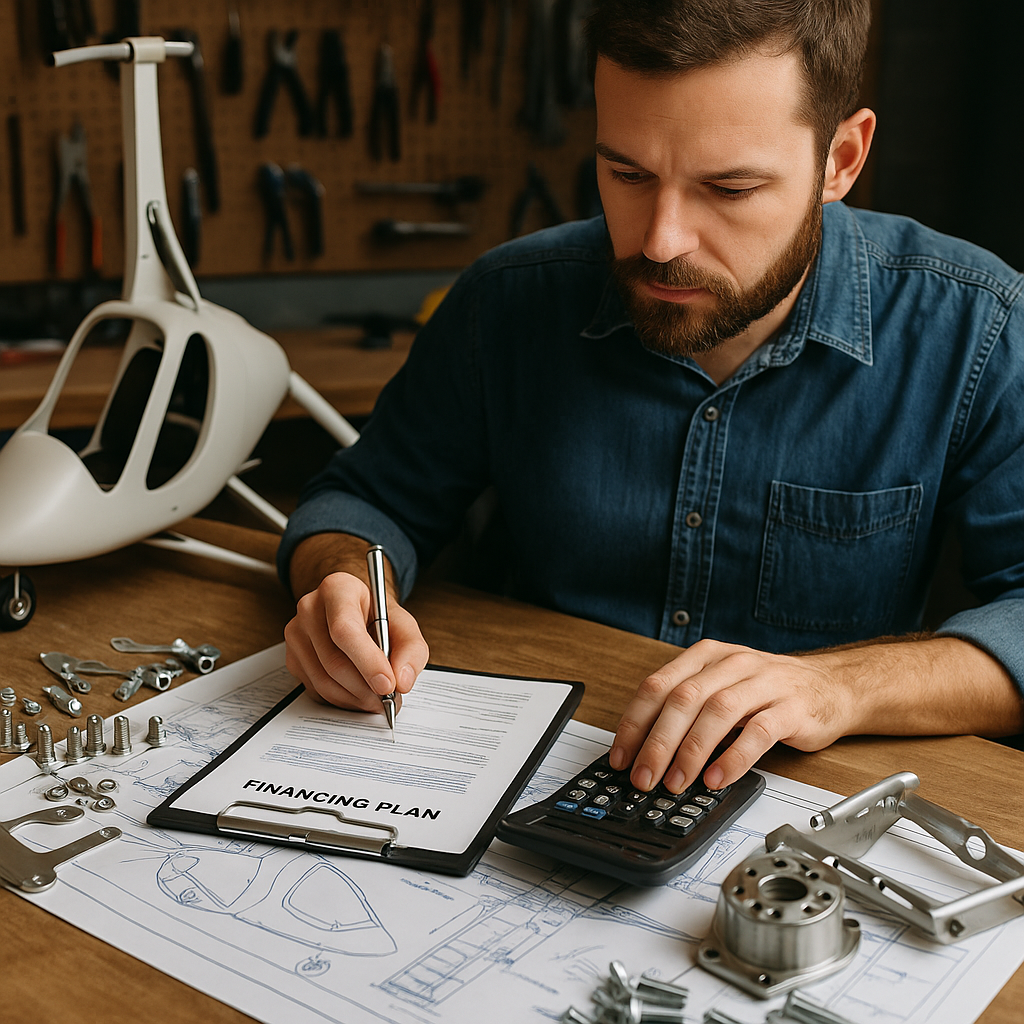
Aircraft Financing
Building a gyroplane kit is an exciting project, but it’s also a financial commitment. Thankfully, financing options for homebuilt aircraft are more available today than ever before. Here are some of the most common ways builders cover the cost of their kits.
1. Aviation-Specific Lenders
Companies like Air & General Finance, Airfleet Capital, and member programs from AOPA and EAA offer financing specifically for aircraft and kit projects. These lenders understand the homebuilding process and may provide better terms than general banks. You can often meet representatives at EAA airshows and aviation events.
2. Home Equity Loans
A popular option is to borrow against the equity in your home. These loans often offer lower interest rates, but keep in mind that your house becomes collateral. A partly built kit alone usually doesn’t have enough value to secure a loan.
3. Signature Loans and Credit Cards
For smaller purchases—like radios, avionics, or pilot gear—you might consider a personal (unsecured) loan or a credit card. This is faster but usually comes with higher interest rates. Only consider this if you’re confident you can pay it off quickly.
4. Buy in Sub-Kits
Instead of buying a full kit at once, many builders purchase their gyroplanes in smaller sub-kits: airframe, rotor, controls, etc. This spreads the cost over time and avoids interest payments entirely, though shipping multiple times may cost more in total.
5. Consider Long-Term Costs
ven after the build is complete, if you’re still making payments, those should be included in your aircraft’s operating cost. Fuel, maintenance, hangar fees, and loan payments together make up your per-hour Direct Operating Cost (DOC). Be sure your long-term budget accounts for that.
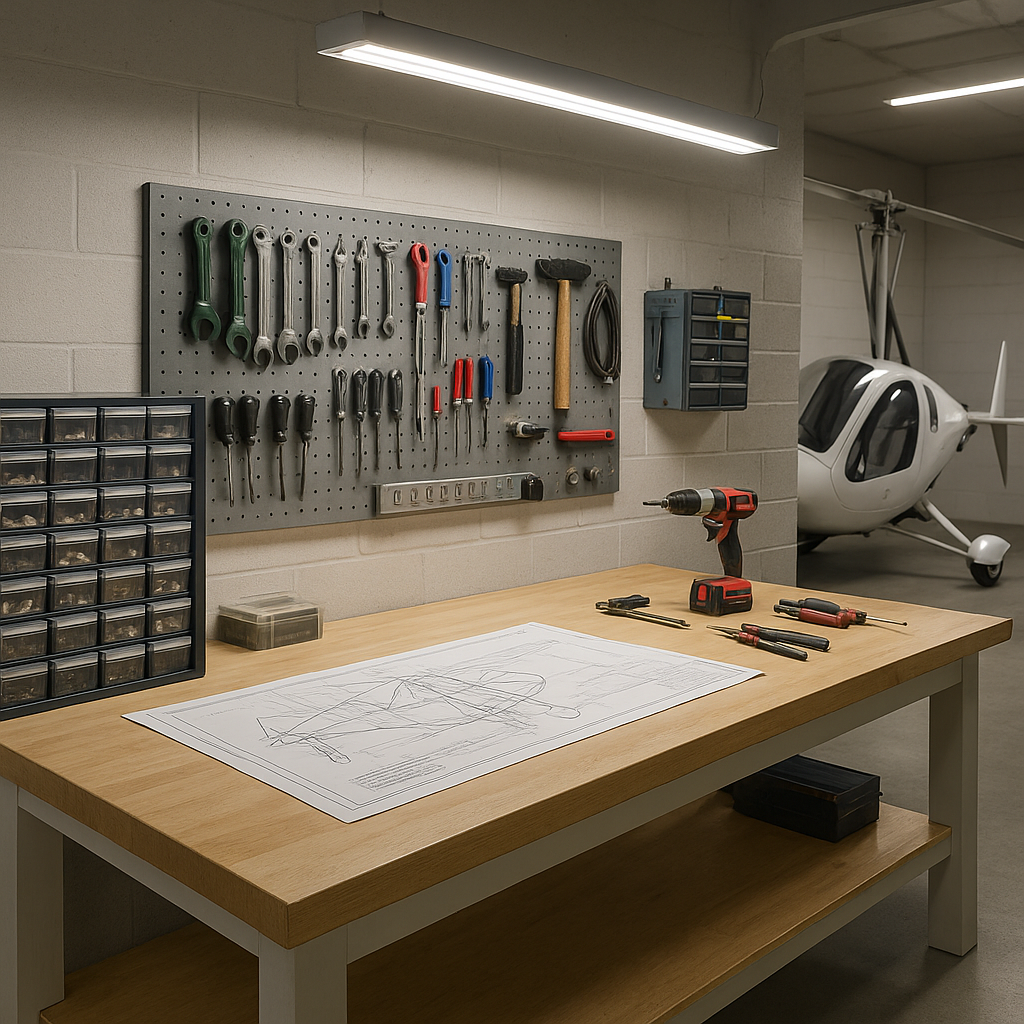
Preparations for the Kit
Long before the first bolt goes in, a tidy, well‑equipped workshop sets you up for success. From space planning to safety supplies, here’s what to sort out before your kit arrives.
1. Plan Your Space
Make sure your workshop has enough room for large components and subassemblies. Use shelves and bins for safe part storage. Keep it free of kids, pets, and bikes!
2. Power & Utilities
Check that you have reliable electrical power (correct voltage), water access for cleanup, and compressed air if working with composites or tires.
3. Lighting Matters
Good lighting helps you see flaws early and reduces fatigue. Install bright, shadow-free work lights across your bench area.
4. Organize Small Parts
Use labeled plastic bins or tool drawers to separate AN, MS, and hardware. A label maker is worth every dollar.
5. Build a Workbench
You’ll need a stable, flat surface for assembly. If you don’t have one, build a simple wooden bench or use folding workmate benches.
6. Control the Environment
A fan, heater, or AC helps depending on your climate. But never use open-flame heaters near flammables or paint jobs.
7. Stock Safety Gear
Fire extinguisher, safety glasses, gloves, first aid kit, and a vacuum or broom. Safe = Fun.
8. Learn with Video
Set up a TV or laptop to watch kit DVDs or YouTube guides. Pause, replay, and work with the part in front of you.
9. Add Some Music
Background music helps motivation, but keep it low—you need to hear tools, instructions, and others if needed.
10. Review Your Tools
Go over your tool list now. Get basics (wrenches, drills) and any kit-specific tools in advance.
Essential Tools
Most gyroplane kits can be built with common hand tools plus a few aviation‑grade specialties. Aircraft parts are high‑strength but light‑weight, so using the right tool matters:
Cordless drill (14.4 V or larger) with keyless chuck and cut‑off wheel
Hinged thin‑wall socket set for tight spaces
Complete drill‑bit set (number, fractional, and letter)
Dremel or rotary tool for trimming
Aviation‑grade double crimper for reliable electrical connections
Soldering pen and multimeter
Compression tester for engine checks
Basic wrenches, files, and pliers
Manufacturers often list their recommended tools—especially for painting and electrical work, invest in quality. With these on hand, you’ll be ready to tackle your first sub‑kit assembly.
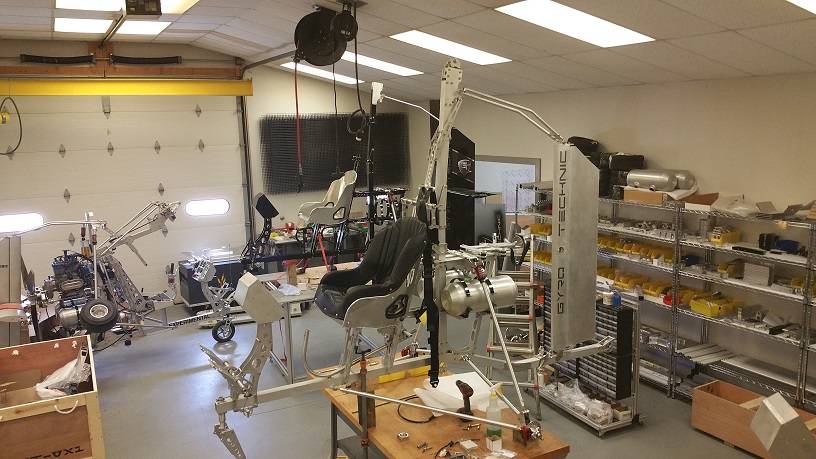
Gyroplane Kit Construction
Before you rivet a single part, start your build log. This simple diary is required for FAA compliance and proves you’ve done the majority of the work.
Log Every Session
Note the date, what you did, hours spent, and who did the work.Photograph Progress
Take clear, well‑lit shots of each assembly step. A basic digital camera works best—instant preview, easy deletion.Include Planning Time
Record “brain time” spent on design or research alongside your hands‑on hours.Update Daily
Finish each day by filling in your log while details are fresh.
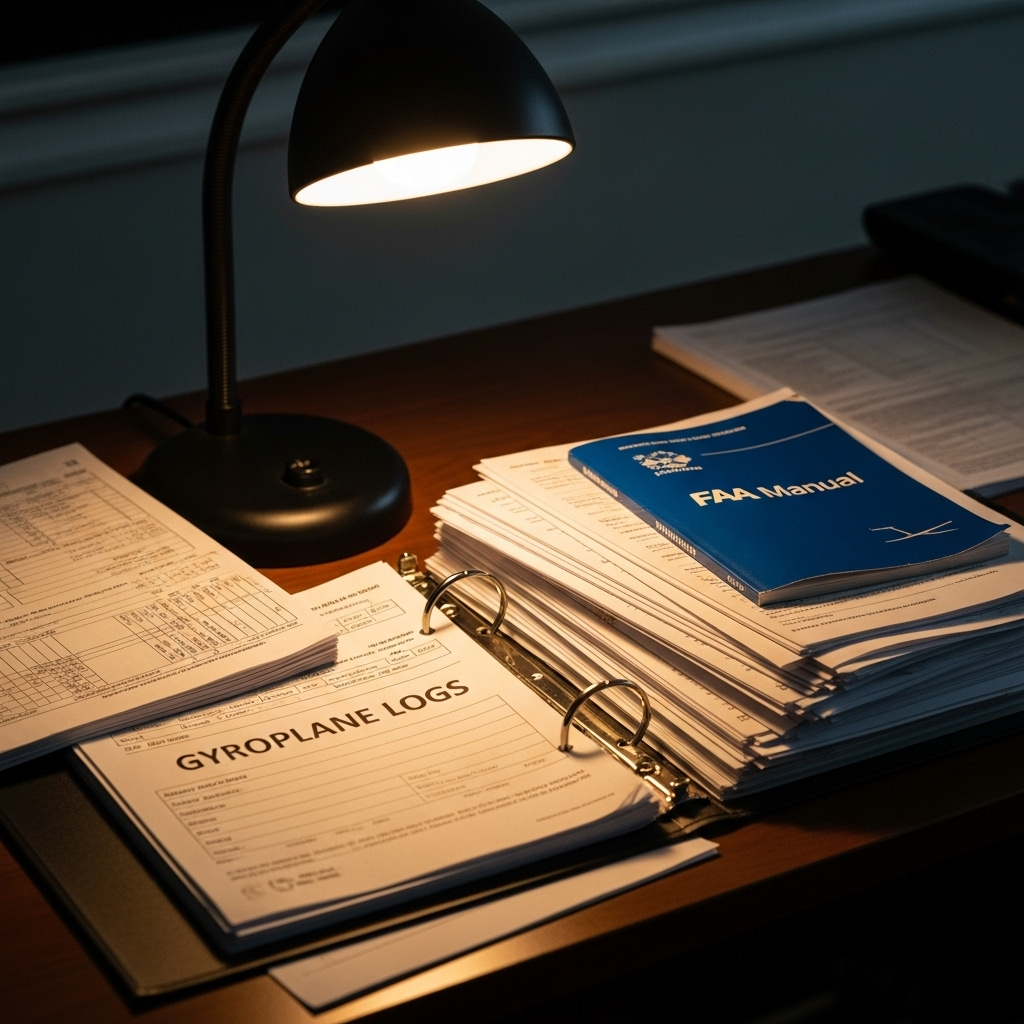
Aircraft Forms and Records
Keeping accurate records isn’t optional—it’s required. Before your first flight, you must have:
Build & Component Logs: A separate logbook for the airframe, each engine, propeller, and major accessory.
Weight & Balance Data: Document empty weight and center‑of‑gravity calculations.
Registration & Certification Forms: All forms filled and submitted per FAA regulations.
Reference Guide: Download the FAA’s “Amateur‑Built Aircraft Reference Manual” (AC 20‑27, 20‑139, 21‑12, 39‑7, 65‑23, 90‑89, 103‑7 in one volume).
Record‑Keeping Tools: Consider the “AD Log” binder system or an electronic solution like aviationlogs.com to store AD cards, time‑change records, and inspection entries.
With paperwork in order, you’re ready to move on to your first flight.
Before Your First Flight
1. Obtain the Inspection
One FAA or DAR inspection is required before your test flights. They’ll review logs, photos, paperwork, and perform a full aircraft check to grant your Special Airworthiness Certificate and initial operating limits.
2. Confirm Markings & Forms
Install required plates and placards (“EXPERIMENTAL,” registration, data plate). Have forms 8130‑6, 8050‑3, 8050‑1, and notarized 8130‑12 ready, plus ID’d photos or drawings.
3. Verify Weight & Balance
Check and record empty weight, CG location, and any loading scenarios. Accurate W&B is critical for safe performance.
4. Define Your Test Area & Hours
FAA limits initial test flights to a 25‑mile radius and 25 hours (certified combos) or 40 hours (non‑certified). Request extensions for high‑speed kits.
5. Create a Flight Test Plan
Outline taxi tests, climb/takeoff speeds, cruise checks, stability evaluations, and fuel burn. Include ground and in‑flight emergency procedures (engine failure, fire, control issues).
6. Assess Pilot Readiness
Only fly when you’re well‑rested, current in type, and comfortable with emergency drills. Consider a refresher with an instructor before your first flight.
First Test Flight
1. Preparation
Crew & Equipment: Only essential ground crew on site. Verify emergency gear, radios, weather brief.
Checklist Review: Fluids, fuel grade, weight & balance, flight‑manual data.
2. Preflight Setup
Cockpit Ready: Strap on kneeboard with your test‑script.
Controls & Instruments: Fuel valve, flight‑control positions, altimeter to field elevation. Mark Vx, Vglide, Va on the airspeed dial.
3. Takeoff
Run‑Up & Call‑out: Taxi to quiet area; announce “Experimental [Reg. No.] departing rwy __.”
Abort Criteria: Low oil/engine readings or odd vibrations—immediately halt.
4. Climb & Testing
Safe Climb: Don’t throttle back or switch tanks until ≥ 1 000 ft.
Data Collection: Monitor engine gauges, control feedback; coordinate with chase‑plane at 100–200 ft behind and below.
5. Landing & Debrief
Approach: Shallow turns (< 20°), complete before‑landing checklist, be ready for go‑around.
Post‑Flight: Secure aircraft, inspect, debrief, fix any issues before next run.
Flight Simulators
1. Evolution
From “refrigerator‑box” IFR trainers to full‑motion VR worlds.
2. Home Setup
Just PC + joystick (or gyro‑style stick). Add yoke, throttle quadrant & pedals as space allows.
3. Software Types
Training, combat, custom scenarios, cockpit‑designer tools. Graphics quality depends on your PC.
4. Skill Building
Scanning techniques, emergency drills, comms practice — crash as often as you like!
5. Test‑Script Rehearsal
Fly your exact test‑flight checklist with any aircraft; refine procedure flow before real life.
6. Community Add‑Ons
Free & paid aircraft downloads (e.g. CarterCopter for X‑Plane), comm‑simulators, DIY cockpit guides.
Flight Training
Explore the one‑of‑a‑kind flight experience that combines airplane simplicity with helicopter‑style control. Our expert instructors guide you through every step, from basic aerodynamics to advanced handling techniques.
Distinct Flight Mechanics
Understand how a free‑spinning rotor and propeller thrust work together—offering quicker roll response than fixed‑wing and gentler RPM than helicopters.Safety‑Centered Instruction
Insights from accident data highlight the importance of flying within limits and pursuing quality training to keep every flight both fun and secure.Handling & Limitations
Learn wind management, smooth landings, turbulence penetration, and the critical avoidance of rapid “unloading” maneuvers that can stress the rotor.Worldwide Instructor Network
Access certified gyroplane CFIs across Australia, Canada, Europe, the USA, South Africa, New Zealand and beyond—for tailored, local training.
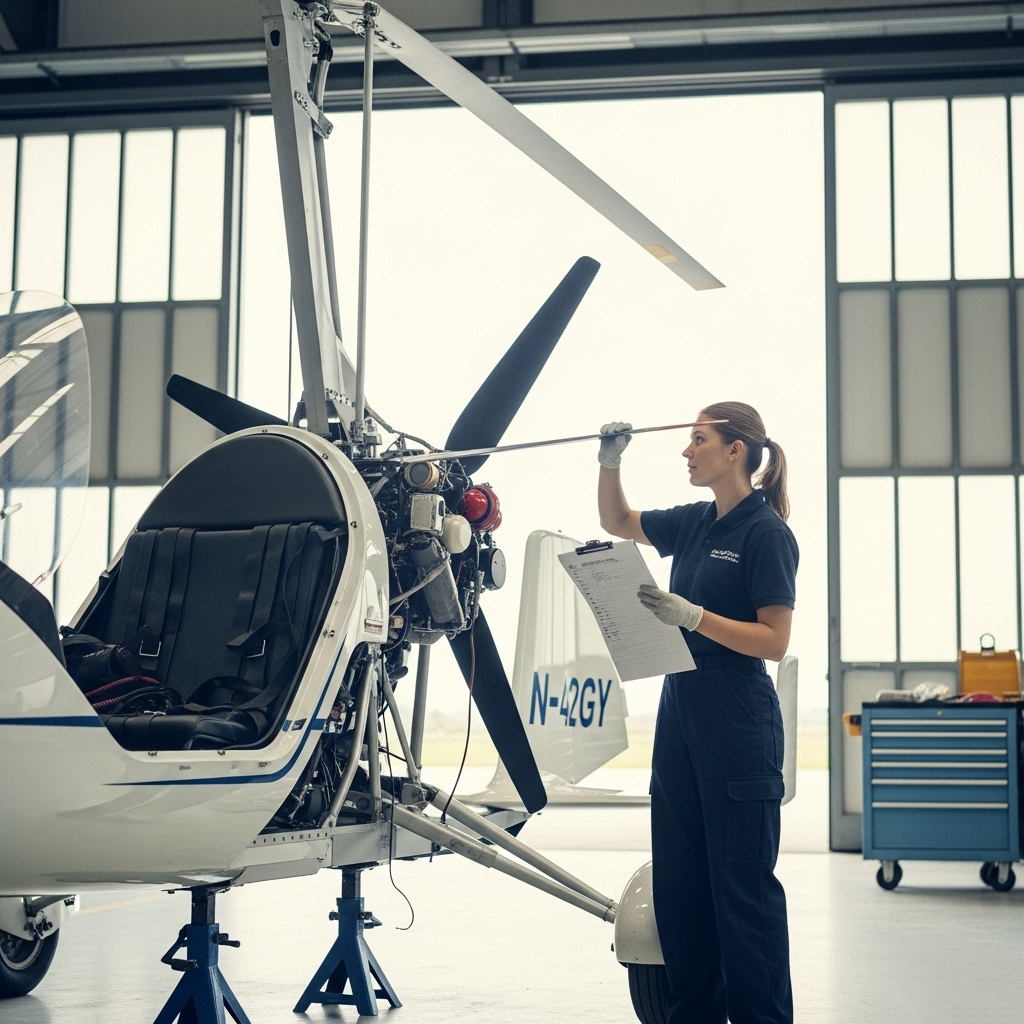
Gyroplane Maintenance
Keep your homebuilt gyroplane airworthy with routine checks and smart maintenance—simple, structured, and stress‑free.
Interval‑Based Checks
Follow your kit‑maker’s checklist every 25 flight hours or 3 months (whichever comes first), just like changing car oil on mileage or time.Annual Condition Inspection
A full, year‑ly airworthiness review is required in most countries (e.g. “annual condition inspection” in the U.S.). It covers every system and component.Ongoing Upkeep
Repair or replace wear items (belts, hoses, tires) as soon as you spot them—prevents big to‑do lists later.Ready‑to‑Go Spares
Keep filters, plugs, bolts and special tools on hand. Time‑life parts must be changed by schedule, so order early to avoid delays.Lube & Environment
Grease and filter‑clean per your kit’s intervals—and increase frequency in dusty, humid, or salty environments.Corrosion Patrol
Inspect metal parts regularly; treat rust at the first sign to save hours and dollars down the road.
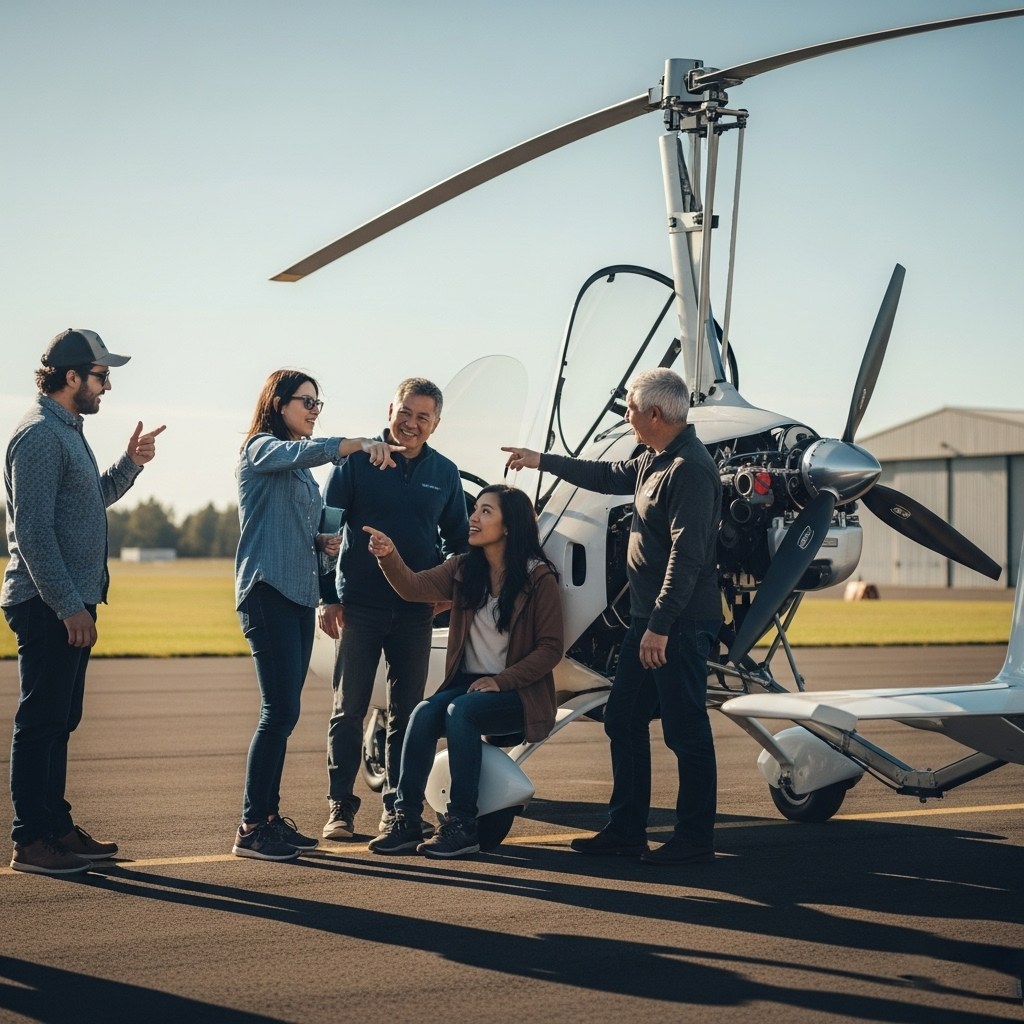
Gyroplane Organizations
A global network of enthusiasts, clubs and events—perfect for anyone curious about gyroplanes, from newcomers to veteran pilots.
Highlights
Support & Learning
Connect with fellow pilots, share tips and tap into decades of collective experience.Annual Gatherings
Don’t miss Bensen Days Fly‑In in Wauchula, FL, drawing pilots and families each year.Key Organizations
AOPA (Aircraft Owners & Pilots Association)
PRA (Popular Rotorcraft Association) & local chapters
EAA (Experimental Aircraft Association)
British Rotorcraft Association
Australian Sport Rotorcraft Association
Online Forums
Engage on Rotary Wing Forum and R/C Gyroplane Forum for everything from kit builds to flying technique.

Government Organizations
Aviation thrives on clear rules. Decades ago, a high‑speed P‑51 at Reno ran afoul of safety standards—ending racing there until robust proficiency requirements returned the sport to the skies.
What You’ll Find
Global Authorities
From the U.S. FAA and NTSB to EASA in Europe, ICAO worldwide standards and dozens of national civil‑aviation bodies set the rules.Guidance & Manuals
Advisory Circulars (AC 43.13‑1), pilot pamphlets, safety posters and NASA’s aeronautical research keep you informed.Comprehensive Directory
A full list covers 190+ countries—use it to locate your local regulator, from Transport Canada to Australia’s ATSB.Community Accountability
Operators, mechanics and pilots together shape public perception—compliance today secures the sport’s tomorrow.
Frequently Asked Questions
A gyroplane (autogyro) uses an unpowered rotor that autorotates to provide lift, and a separate engine‑driven propeller for thrust. It combines helicopter‑like lift with fixed‑wing stability, making it agile yet forgiving in flight.
Yes—most countries require at least a private pilot’s license with a gyroplane rating. Training typically includes ground school, dual flight instruction, and a cross‑country solo phase.
Routine inspections are generally every 25 flight hours or 3 months (whichever comes first). An annual condition inspection by a qualified inspector is also mandatory. Always follow your kit manufacturer’s intervals.
Common airframe materials include aluminum alloys (e.g., 2024‑T6), steel tubing (SAE‑grade), titanium, and composites (fiberglass, carbon‑fiber). Use only MS/AN‑standard hardware for critical components.
Join local and international clubs—AOPA, PRA, EAA, British Rotorcraft Association—and online forums like Rotary Wing Forum or R/C Gyroplane Forum to share tips, events and build stories.
Refer to your national civil‑aviation authority’s website (FAA, EASA, CASA, etc.) for advisory circulars, safety bulletins and certification requirements. A global directory is also provided on this site.
Key resources include FAA AC 43.13‑1 for maintenance practices, university rotorcraft research summaries, NTSB accident reports, and GyroWiki’s online gyroplane encyclopedia.
Begin by reviewing kit‑manufacturer manuals and the “Essential Tools” section. Attend an EAA or local builder workshop for hands‑on guidance, then follow a step‑by‑step build plan with regular inspections.